One of Swaps.io's main missions is to make crypto truly accessible to everyone. The complexity of swapping, managing gas fees, and dealing with different blockchains has kept many users from fully embracing DeFi. Swaps.io dApp was built to remove these barriers, enabling seamless and efficient on-chain and cross-chain transactions. Users can swap directly with Intent Agents in a peer-to-peer manner, allowing the Agents to handle every aspect of the swapping process themselves. Read this step-by-step guide to start your journey with Swaps.io dApp.
How to connect a wallet
1. Visit Swaps.io and click the "Connect Wallet" button.
2. Choose your wallet from the list.
3. If you do not see your wallet among popular versions, try to connect it using WalletConnect.
4. Your wallet is now successfully connected, and you can start swapping using Swaps.io dApp.
How to make a swap
1. Click on the “Select crypto” button.
2. Select the assets you want to sell and buy.
3. Enter the amount and click the "Review" button to see the swap information.
4. In the opened window, you can see the swap information. If everything looks good, confirm the swap.
5. Sign the order by confirming the transaction in your wallet.
For some transactions, approvals may be needed.
6. Wait for the swap to complete. It typically takes 3-5 seconds, depending on each network.
That’s it! Enjoy the efficiency of Swaps.io dApp, and keep swapping!
How to check your balance and history
1. Click on the wallet address to open the account interface.
2. The total balance of your connected wallet is displayed here.
Be careful, as the deposit button refers to a deposit to your Smart Wallet. Check how to make a deposit here.
3. Your Swap Points balance is shown here.
4. To view your swap history, click on the "History" tab.
5. Click on any swap to learn more about it.
How to open a ticket in Discord
1. Click on the Discord icon to join the Swaps.io server and create a ticket.
2. You will be redirected to our Discord server. Click on the "rules" channel.
3. Verify yourself by clicking the checkmark.
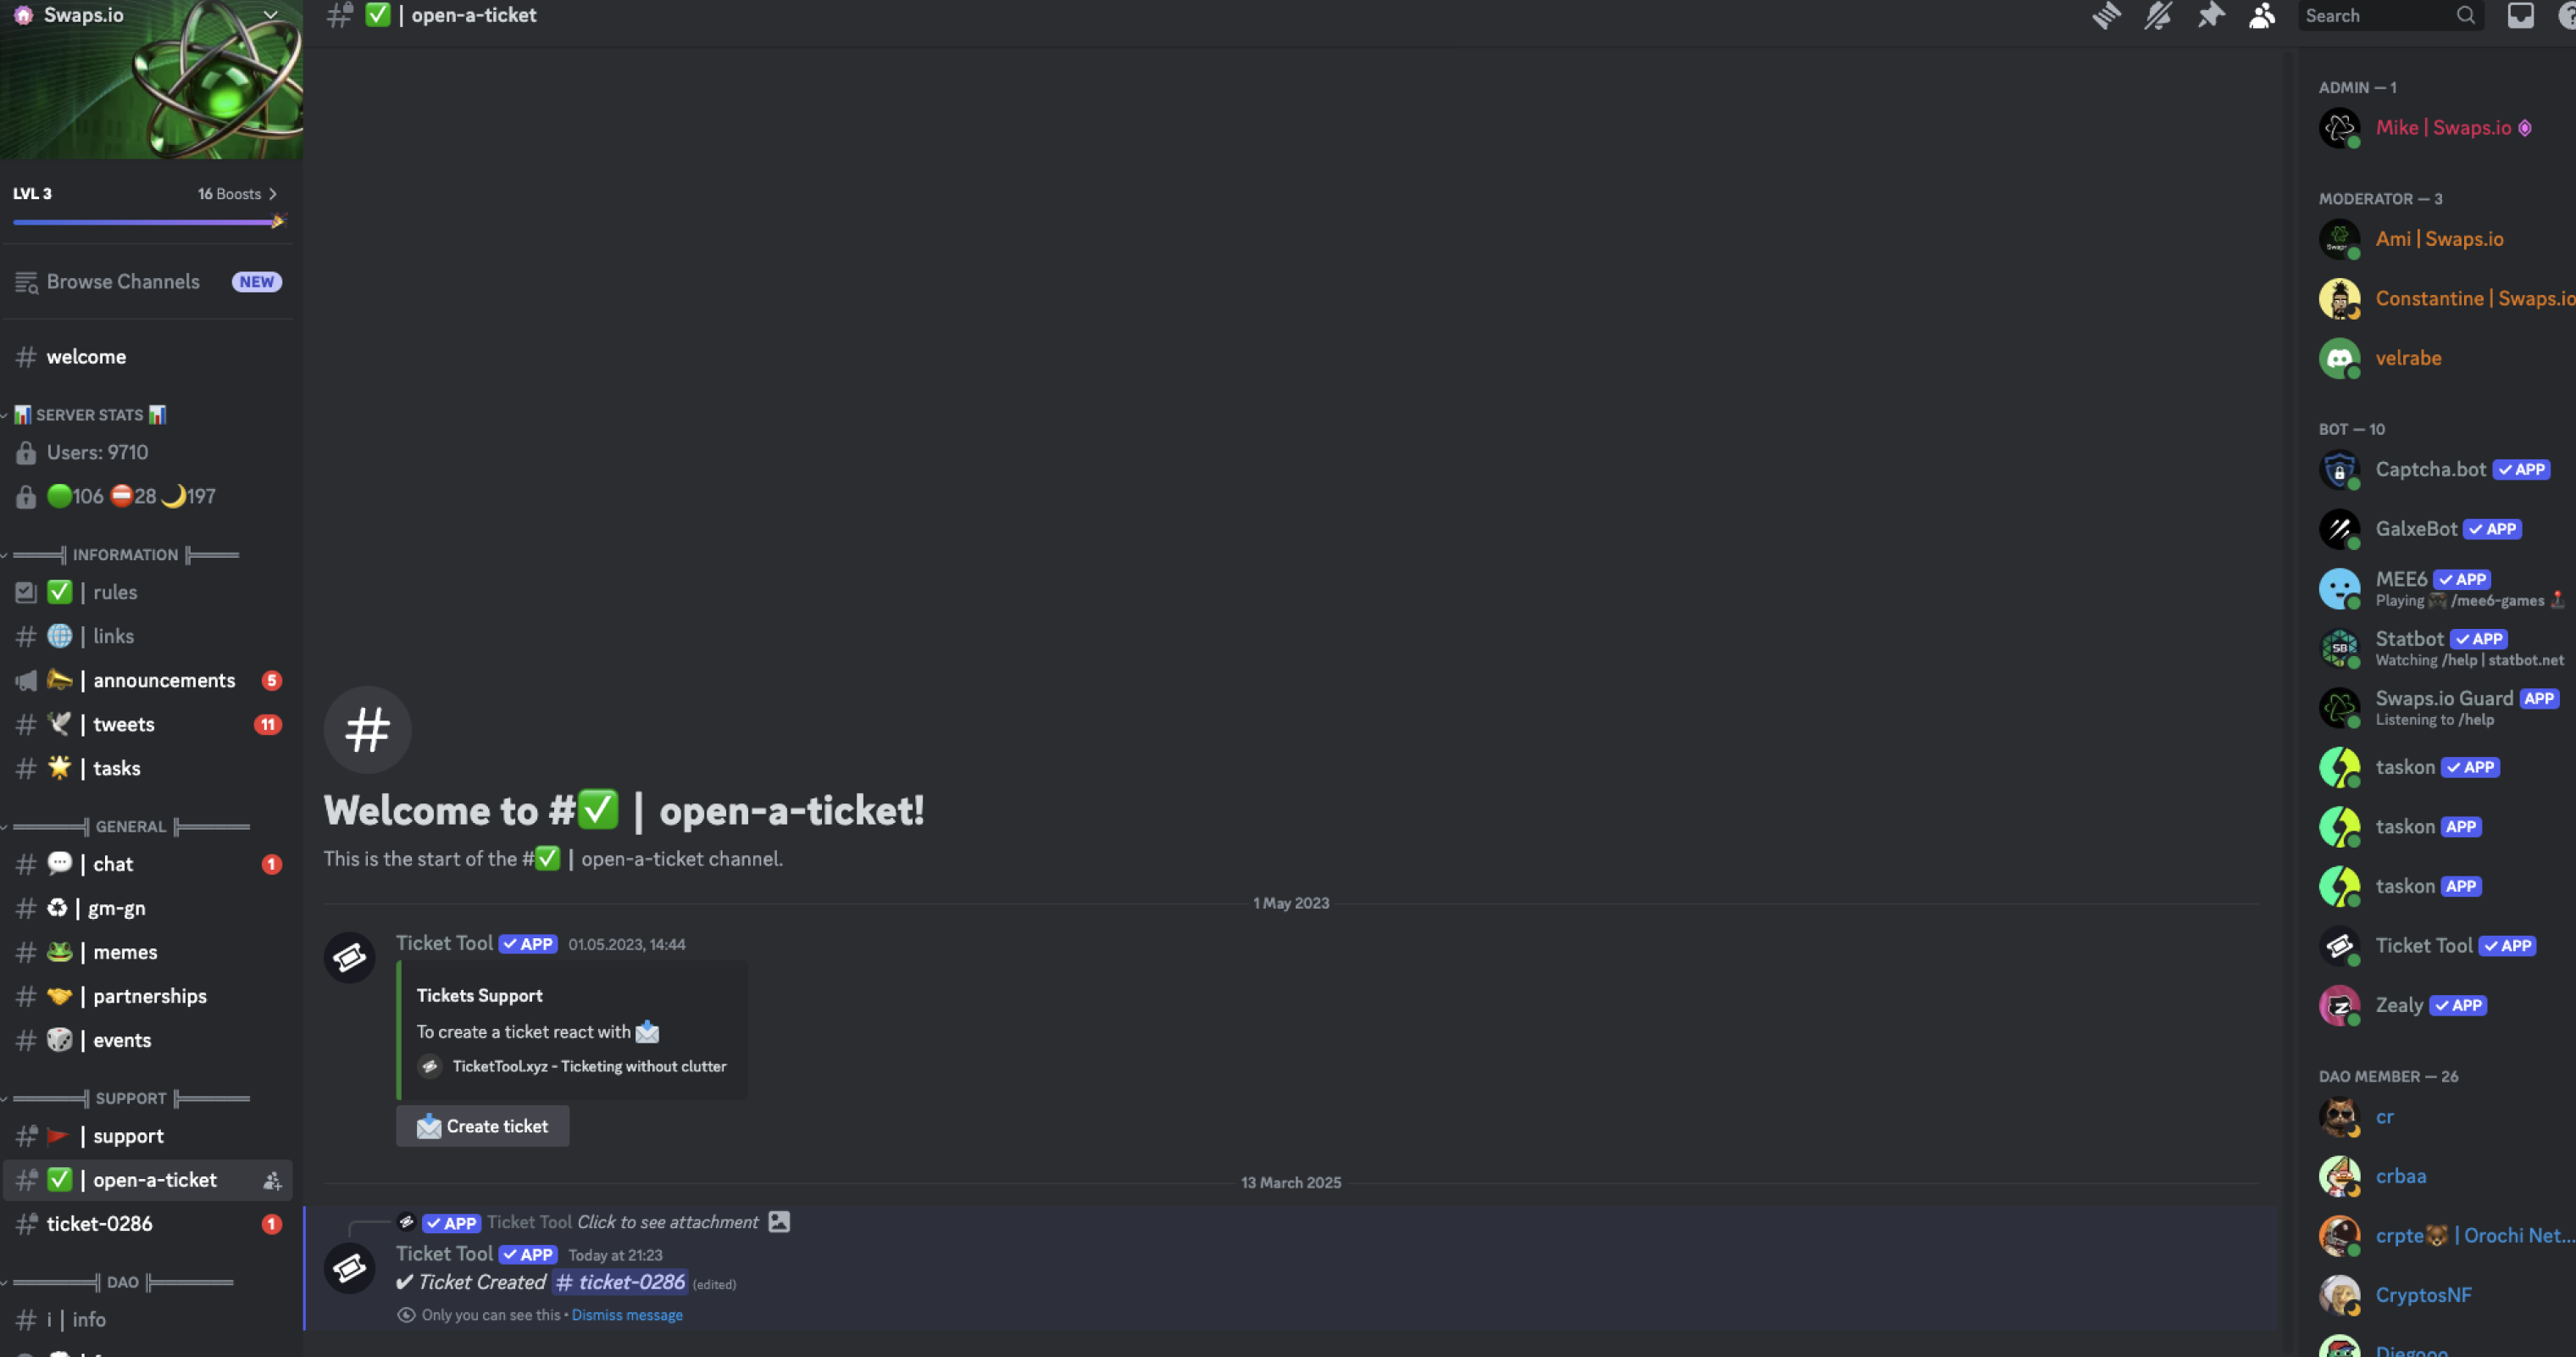
4. Scroll through the panel and find the Support section. Click on "Open a Ticket".
5. Click "Create Ticket".
6. The ticket has been successfully created, and you can describe your issue now. Click on it in the panel to open a chat with support.
7. Write a message describing your issue in the ticket, and our support team will get back to you as soon as possible.


.png)
.png)
.png)


.png)
.png)
.png)


.png)
.png)
.png)
.png)
.png)